A tray is a footprint, and the choice between two sizes is a catalogue question
The tray on a cross belt sorter is the only part of the machine that touches the parcel, and its size decides three things at once: what can be carried, how precisely it must be placed, and how many trays the same length of line can hold.
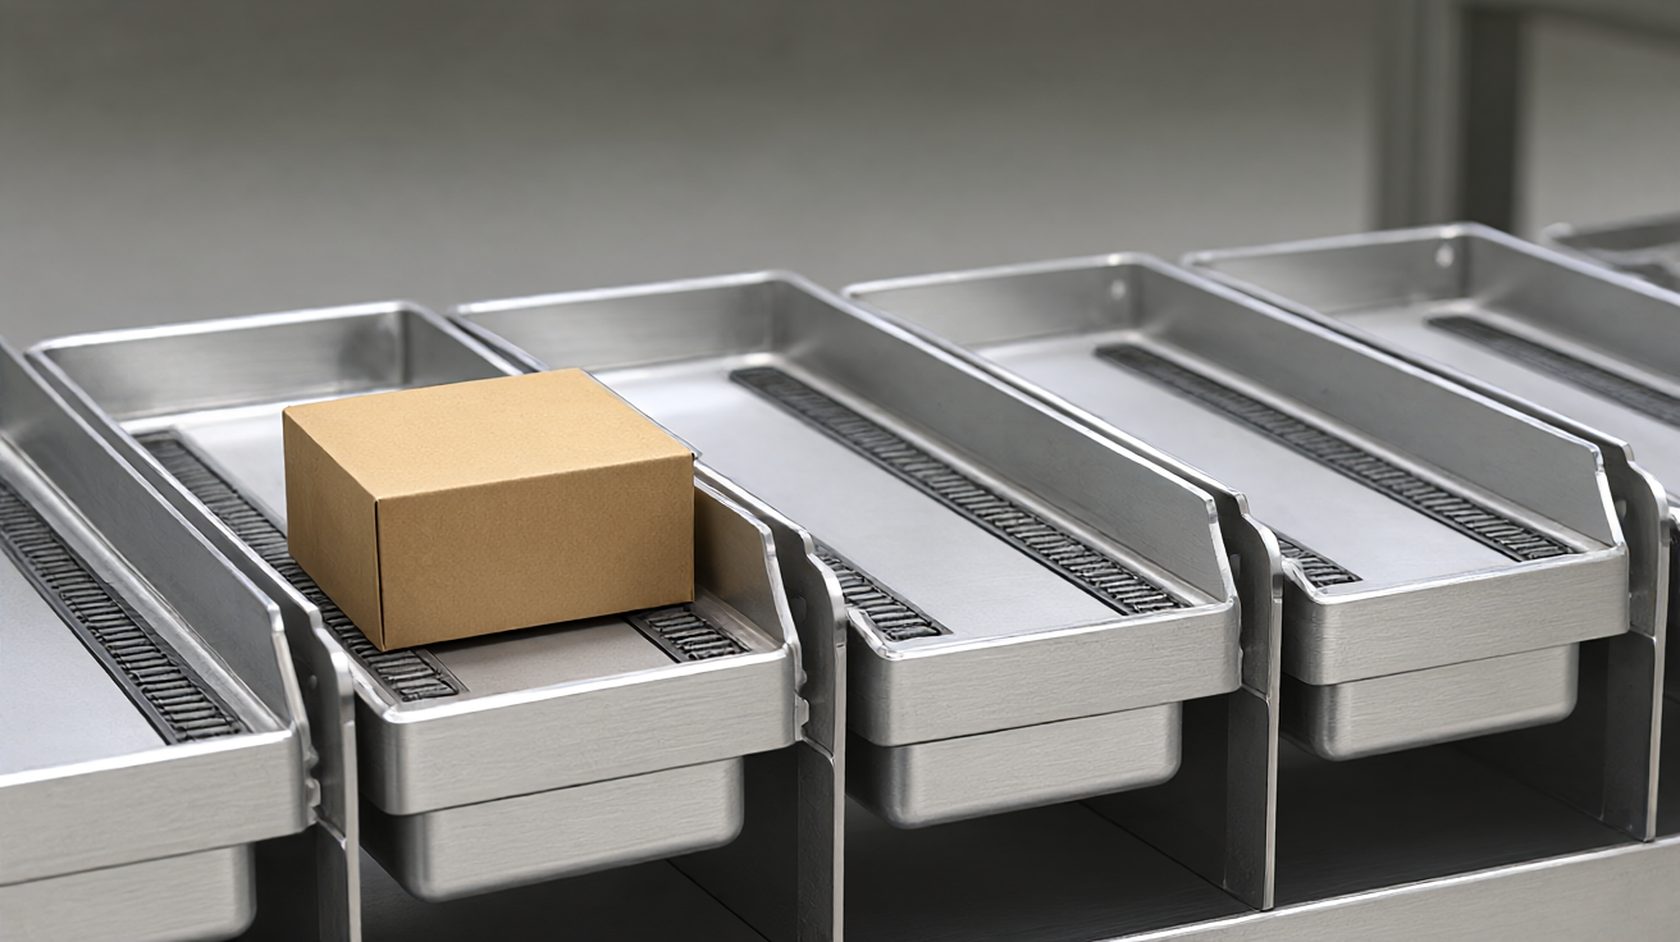
Tray size is a contact area, not a dimension
A tray is quoted as a width and a depth, and what it actually provides is a contact area. A parcel whose base is smaller than the tray rides with margin. A parcel whose base overhangs the tray is supported at its centre and unsupported at its edges, which is a different mechanical situation.
Overhang is the failure that tray sizing is meant to prevent, and it is not a binary. A small overhang on a rigid carton is harmless because the carton distributes the load across its own base. The same overhang on a soft parcel lets the edges sag, and a sagging edge catches the next tray or the chute lip.
Which means the tray decision has to be made against the base area distribution of the parcel mix rather than against the maximum dimension. A catalogue whose parcels are long and narrow has a different requirement from one whose parcels are square, even at the same maximum length.
The measurement is the same census used for belt width, with one extra column: the base area of the packed parcel. That column is what the tray is actually sized against, and it is usually missing from the data a buyer collects.
What the smaller tray excludes
The smaller tray carries the majority of e commerce parcels comfortably: mailers, small cartons, boxed accessories, shoes in their retail box, cosmetics. These are the parcels that define the volume, and they fit with margin on a tray that is not generous.
What it excludes is the carton whose base is larger than the tray in both directions, and this is where the overhang question becomes a mechanical one. A carton that overhangs in one direction only can be rotated. A carton that overhangs in both cannot.
The exclusion is usually a modest share of volume, and the share is what matters. A small share can be routed to a separate line or handled manually. A large share means the tray is undersized and the line will run with a permanent exception stream.
The commercial case for the smaller tray is density. More trays in the same length of line means more parcels in flight, which raises the ceiling on throughput without raising the speed. That is the benefit being bought, and it should be quantified against the excluded volume.
What the larger tray buys and costs
The larger tray buys the carton that overhangs in both directions, and it buys placement tolerance. A parcel placed off centre on a large tray is still fully supported, which matters because induction is not perfectly precise and a tolerance that the tray provides is a tolerance the induction does not have to.
The cost is density. Larger trays mean fewer of them along the same length, and fewer trays mean fewer parcels in flight. At the same speed the line carries fewer parcels per hour, and the throughput ceiling falls by roughly the ratio of the tray sizes.
There is also a weight and inertia cost. A larger tray with the same drive has a higher moving mass, which affects acceleration at the divert and the energy per parcel. The effect is modest per tray and cumulative across a long line.
So the larger tray is the right choice when the catalogue is dominated by cartons near the tray limit, and the wrong choice when the catalogue is dominated by small parcels with a carton tail. The tail is cheaper to handle separately than to size the whole line for.
Centre of gravity decides what the tray can carry
A tray carries a parcel whose centre of gravity sits within the tray footprint. When the centre of gravity sits outside, the parcel is not merely unsupported, it is a lever, and the tray has to resist a moment rather than a weight.
The moment matters at the divert, because the divert accelerates the parcel sideways. A parcel with a high centre of gravity and a partial support base will tip at the moment the cross belt starts moving, and a tipped parcel leaves the tray at the wrong angle and the wrong time.
The heaviest parcels are the ones where this is least forgiving. A dense small carton has a low centre of gravity and travels well. A light large carton has the same footprint problem and less inertia, so it tips more easily but does less damage when it does.
The practical control is a height limit as well as a footprint limit. A tray specification that states only width and depth has said nothing about how tall a parcel can be before it becomes unstable, and the height is the dimension that decides tip.
Surface and friction decide whether the parcel arrives where it was aimed
The cross belt moves the parcel sideways relative to the tray, and the parcel has to break static friction with the tray surface at the moment of discharge. If friction is too high the parcel hesitates and leaves late. If it is too low the parcel slips during travel and leaves early.
The surface is therefore a specification with a coefficient, not a finish. A smooth tray and a textured tray behave differently on the same parcel, and the difference is visible only at the discharge chute when the parcel lands short or long.
Parcel packaging interacts with this. A poly mailer on a smooth tray has almost no grip, and it will slide during acceleration and deceleration even when it is not being discharged. A corrugated carton on the same tray grips well and discharges predictably.
The mixed catalogue problem is that no single surface suits every packaging type. The usual resolution is a surface tuned for the dominant packaging and a divert profile tuned to compensate for the rest, which means the discharge timing is parcel dependent rather than fixed.
Side discharge geometry is a coupled problem
The parcel leaves the tray at an angle set by the cross belt speed relative to the line speed, and the resulting trajectory has to intersect the chute opening. The chute opening is sized from the parcel, and the parcel trajectory is sized from the speeds.
A larger tray changes the geometry because the parcel starts further from the chute. The extra distance is the tray half width, and at a given speed that extra distance is extra time in the air, which shifts the landing point.
This is why a tray change is a chute change. A line retrofitted with larger trays will discharge long, and the chutes have to move or widen. The retrofit cost is therefore not the trays, it is the trays plus the chutes plus the controls retiming.
The coupling should be designed once, at the specification stage, with the tray size, the line speed, the cross belt speed and the chute opening in the same calculation. Suppliers who quote tray size and chute size separately are describing two halves of one problem.
Two parcels on one tray is a mode, not a capacity
A tray large enough for two parcels invites the question of whether it should carry two, and the answer depends on whether their destinations can be reached in the same discharge. If they cannot, the second parcel waits for a second pass.
The second pass is not free. It consumes a tray revolution, which is capacity, and it consumes the tray's return path, which is the constraint on how many trays the line needs. A line running many two parcel trays with mismatched destinations needs more trays than its throughput suggests.
Where the destinations do align, dual placement is a genuine capacity gain, and it is largest on lines with many destinations and low volume per destination. That is the profile of a parcel network rather than a single retailer, and it is why dual placement is more common in carrier hubs.
The specification should state whether dual placement is intended, because it changes the induction logic, the tray surface and the discharge timing. A line designed for single placement that is operated with dual placement will produce a discharge error rate that looks like a mechanical fault.
Tray count sets the recirculation capacity
The number of trays on a line is the buffer for parcels that are not discharged on the first pass. A parcel that recirculates occupies a tray for a full revolution, so the tray count has to cover both the parcels in flight and the parcels waiting for a second pass.
Smaller trays mean more of them for the same line length, which is a larger recirculation buffer as well as a higher parcel density. That is a second argument for the smaller tray, and it is the argument that matters on lines with many destinations and low volume per destination.
The tray count also determines the induction rhythm. A line with few trays cannot accept induction faster than the trays return, regardless of how fast the induction itself can work. The tray count is therefore a throughput constraint that appears in the induction rate.
Which means the tray size decision and the tray count decision are the same decision made twice. Choosing a large tray reduces the count for a given line length, and the reduced count reduces the induction rate, and the reduced induction rate is the real capacity loss.
Maintenance follows the tray
Every tray has a belt, a drive, a bearing and a position sensor. A line with more trays has more of each, and the maintenance workload scales with the tray count rather than with the line length.
Smaller trays are individually lighter, which makes a single tray replacement a one person task rather than a two person task. That is a real labour difference on a line where tray replacement is a routine activity rather than an exception.
The cross belt on a small tray is shorter, which means it accumulates less stretch and less tracking drift over its life. The failure mode on a long tray belt is usually tracking, and tracking on a long belt is harder to correct than on a short one.
Access is again the constraint. Small trays packed densely along a frame are harder to reach individually, and the maintenance procedure has to specify how a tray is isolated without stopping the line. A procedure that stops the line for every tray service will result in deferred service.
Choose the tray from the base area distribution
The input is a histogram of packed parcel base area, taken from shipment data and split by packaging type. The tray has to cover the cumulative share that the operation is prepared to carry automatically, and the remainder is the exception stream.
The second input is the height distribution, because height decides tipping rather than fitting. A tray that fits the footprint and not the height is a tray that carries unstable parcels, and unstable parcels discharge unpredictably.
The third input is the destination count, because it decides whether dual placement is viable and therefore whether tray density matters more than tray area. A line with few destinations has no use for dual placement and should optimise for area.
With those three inputs the tray size is derived rather than chosen, and the chute geometry follows from it. The decision stops being a preference between two catalogue options and becomes a specification with a reason attached to each number.
The tray this note argues for is the one on the cross belt sorter built around the smaller tray, and the contact area is what the base area histogram is really measuring.
- Size the tray from the packed parcel base area distribution, not the maximum length.
- Record base area as a column in the parcel census beside length and width.
- State a height limit alongside the footprint limit to control tipping.
- Quantify the volume excluded by the smaller tray before choosing it.
- Treat tray size, line speed, cross belt speed and chute opening as one calculation.
- Specify the tray surface by friction behaviour rather than by finish.
- Confirm whether dual placement is intended before fixing the induction logic.
- Check the tray count against the recirculation buffer requirement.
- Check the induction rate against the tray return rate.
- Count maintenance points per tray in the density comparison.
- Write a tray isolation procedure that does not stop the whole line.
- Derive the tray size from base area, height and destination count together.